WARNING: This is kind of a technical read.
 |
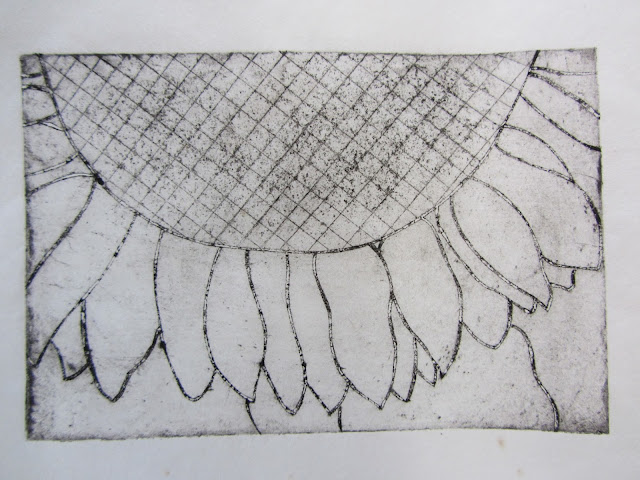
| Hand drawn sunflower, matboard collagraph, black Akua ink with mag mix, mulberry paper. |
I have not mastered it yet, but thought I'd share my learnings here as it's still a work in progress.
Basic steps are:
1) Draw design on back of matboard2) Coat all sides of matboard with gloss medium
3) Carve design
4) Apply second coat of gloss medium to matboard
5) Ink the board with intaglio ink
6) Pull your print (These are hand pulled as I do not have a press.)
For Belinda's great detailed video, click here.
Front or Back of Matboard?
The mat board can be any piece of scrap matboard. Belinda used the back of hers, but I decided to use the front as mine had a brand stamp all over the back. What I learned was that the line quality you get on the front vs. the back is different and DOES make a difference. More paper pulls off the front so the lines are much deeper. You can get shallower lines on the back and shallower lines = easier printing.My first attempt I had too many incised lines and not enough carved lines to get a good image. My first two prints are below. I got a better pull the second time but I really had to force the paper down into the carved lines. It did not dawn on me until after my second plate that perhaps the carved lines were too deep.
 |
| Cut Rice Fields, Mississippi County, AR |
 |
| This is the plate, done on the front of the board. |
Wet or Dry Paper?
I used mulberry paper, which is very thin. I was spritzing it but still having trouble. Belinda suggested I try it dry, so I did. You can see my results below. Dry totally did not work for me. The print had very little line work and still needed more plate tone. |
| Same procedure but dry paper. |
But, I will carve this one again as I really love this shot of our old gas station!
 |
| Same procedure damp paper. |
 |
| Here is the rinsed plate for that print. You can see how much ink is still left in some of the lines. (Gas station, Wilson, AR) |
Ink Consistency
In the final print I tried to dab some ink back on with the wiping fabric. I did not like how that turned out much as it's hard to do without it looking blotchy. The issue is getting big areas of sticky ink off without taking all the plate tone with it.
 |
| Simple sunflower drawings #1 and #2. |
 |
| Here is the plate for that print. The brand mark may make more complex designs a challenge. |
Advice is always appreciated so if any of you have experience with this type of collagraph printing I'd love to hear your success story.
As always, thanks for stopping by.
Jan
No comments:
Post a Comment